

Icon that shows a close icon
Badge that says Turn waste into food

Turning waste into something delicious

You’ve earned this badge! You now understand how oyster mushrooms grown on coffee grounds can be turned into delicious recipes. Nice!

Icon that shows a close icon
Badge that says Harvest, store & cook gourmet mushrooms

Mushroom master!

You’ve earned this badge! You now know how to harvest, store, and turn your oyster mushrooms into delicious dishes!

Growing

& Harvesting

Full bucket of mycelium

The waiting game ends

If you've been following the timeline from previous steps, you should reach a completely white, fully colonized bucket in about 4 to 6 weeks, depending on how much coffee you drink and the season. Once the bucket is filled to the brim and the top layer has turned completely white, the mycelium enters its final phase. It usually takes another 1.5 to 3 weeks before you see the first tiny mushroom pins pushing through the holes.

During this seemingly quiet period, the mycelium is working hard beneath the surface. It's digesting nutrients, building up energy reserves, and preparing to fruit. In nature, mycelium can remain dormant for years, waiting for ideal conditions for mushroom growth and the spreading of spores. Your bucket mycelium is just taking its time to build a strong foundation. Mushroom cultivation requires patience, something our fast-food culture often forgets.

But what if your bucket is fully grown and four weeks pass with no mushrooms?

Don't panic! Your mycelium might just need a wake-up call. In nature, grey oyster mushrooms often start fruiting when temperatures drop in autumn. This temperature shift signals the fungus that winter is approaching, triggering it to produce mushrooms before conditions become too harsh. You can replicate this seasonal change at home with a simple cold shock treatment.

How to give your mycelium a cold shock

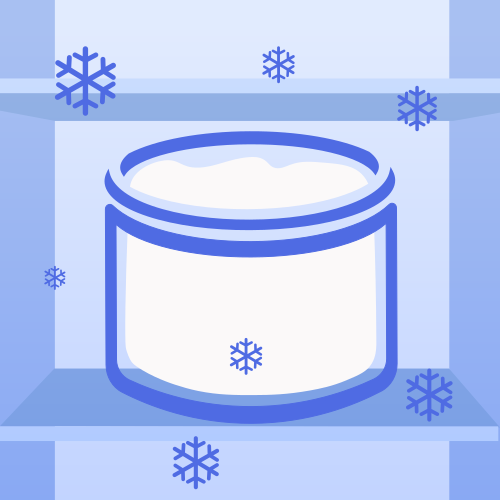
Illustration of the growkit that is placed inside a fridge

1. Cold rest

Place your bucket in the fridge (or outside if it's cold—around 5-10°C) for one to two days.

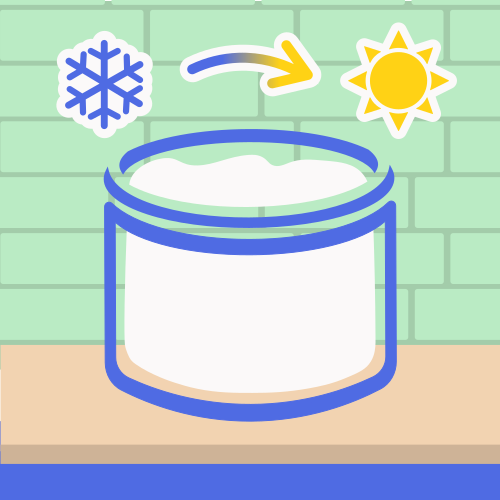
An illustration of the growkit placed on a counter. It shows that you need to but it back to room temperature

2. Return to room temp.

After this cold period, return the bucket to its normal growing spot at room temperature. This sudden temperature change tells the mycelium "the seasons are changing, time to fruit!"

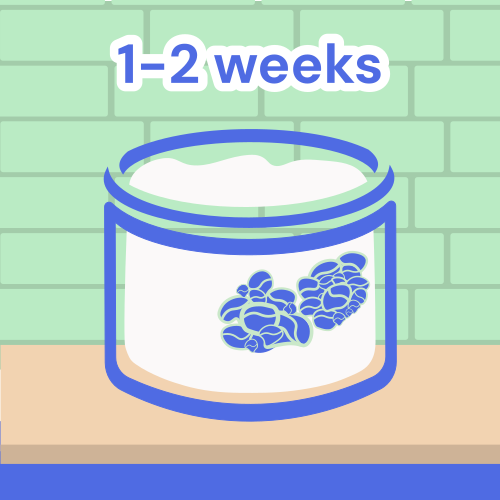
An illustration of the growkit on a counter and small pins of mushrooms are starting to appear

3. Fruiting begins

Within a week or two, you should start seeing pins emerge through the holes.

You don't see anything after this? You can try the cold shock again.

Fruiting & Growing

Do you see the first tiny bumps appear through the holes? Congratulations! You've entered what mycologists call the primordial stage, or in everyday language: button formation.

These little pins will transform into full-sized mushroom clusters in just 3 to 5 days at room temperature. The ideal temperature is between 15°C and 18°C degrees, however they also grow between 12°C and 20°C.

Depending on the temperature, the grey oyster mushroom may be more white or more grey. It's a surprisingly fast process, and if you check your bucket daily, you'll actually see visible growth.

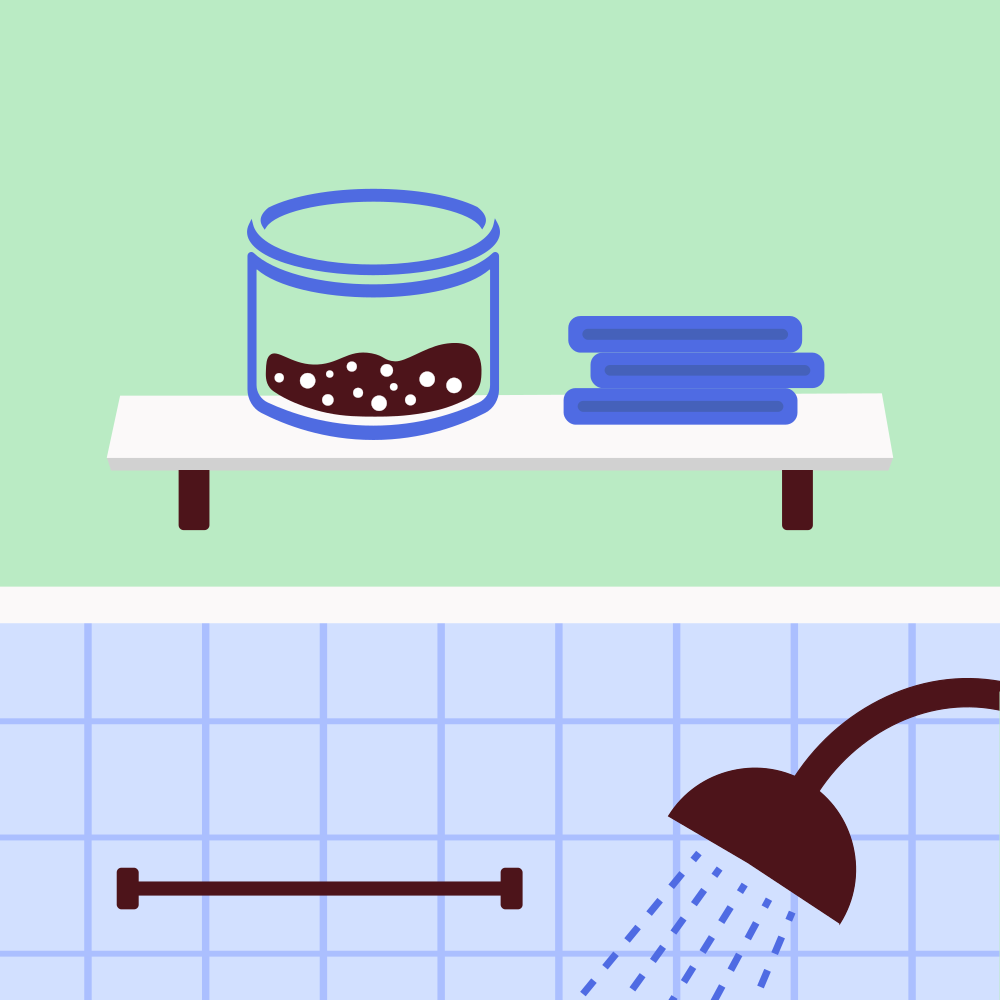
An illustration of the growkit placed in a moist bathroom

Where to place fruiting mushrooms?

Unlike the colonisation phase where darkness was fine, fruiting mushrooms need light. Place your bucket in a spot with indirect natural light for 8-12 hours per day. A kitchen counter near a window (but not in direct sunlight) or a bright bathroom shelf works perfectly.

The mushrooms use light to orient themselves and develop properly shaped caps. No light? You'll get those strange "spaghetti" formations we mentioned in Step 3.

Humidity: Here's the critical part. During these five days of rapid growth, oyster mushrooms are extremely sensitive to dry air. Mushrooms are about 80% water, and they can dry out quickly under the influence of heating systems in winter, high summer temperatures, or drafts from open windows or fans.

How to maintain moisture

If your home is particularly dry, you can create a humidity tent by loosely placing a clear plastic bag over the growing cluster. Leave the bottom open for air circulation, and make sure you’re using a transparent or white bag so the light gets to the mushroom. Check them daily and remove the bag once they're nearly full-sized.

Some growers also keep their buckets in bathrooms during fruiting: the ambient humidity from showers helps keep mushrooms grow. If you notice the edges curling up or the mushrooms feeling papery, they're drying out. Oyster mushrooms can double in size every 24 hours during peak fruiting conditions. This rapid growth requires enormous water uptake. A single mushroom cluster can absorb 30-40 ml of water per day through the mycelium network.

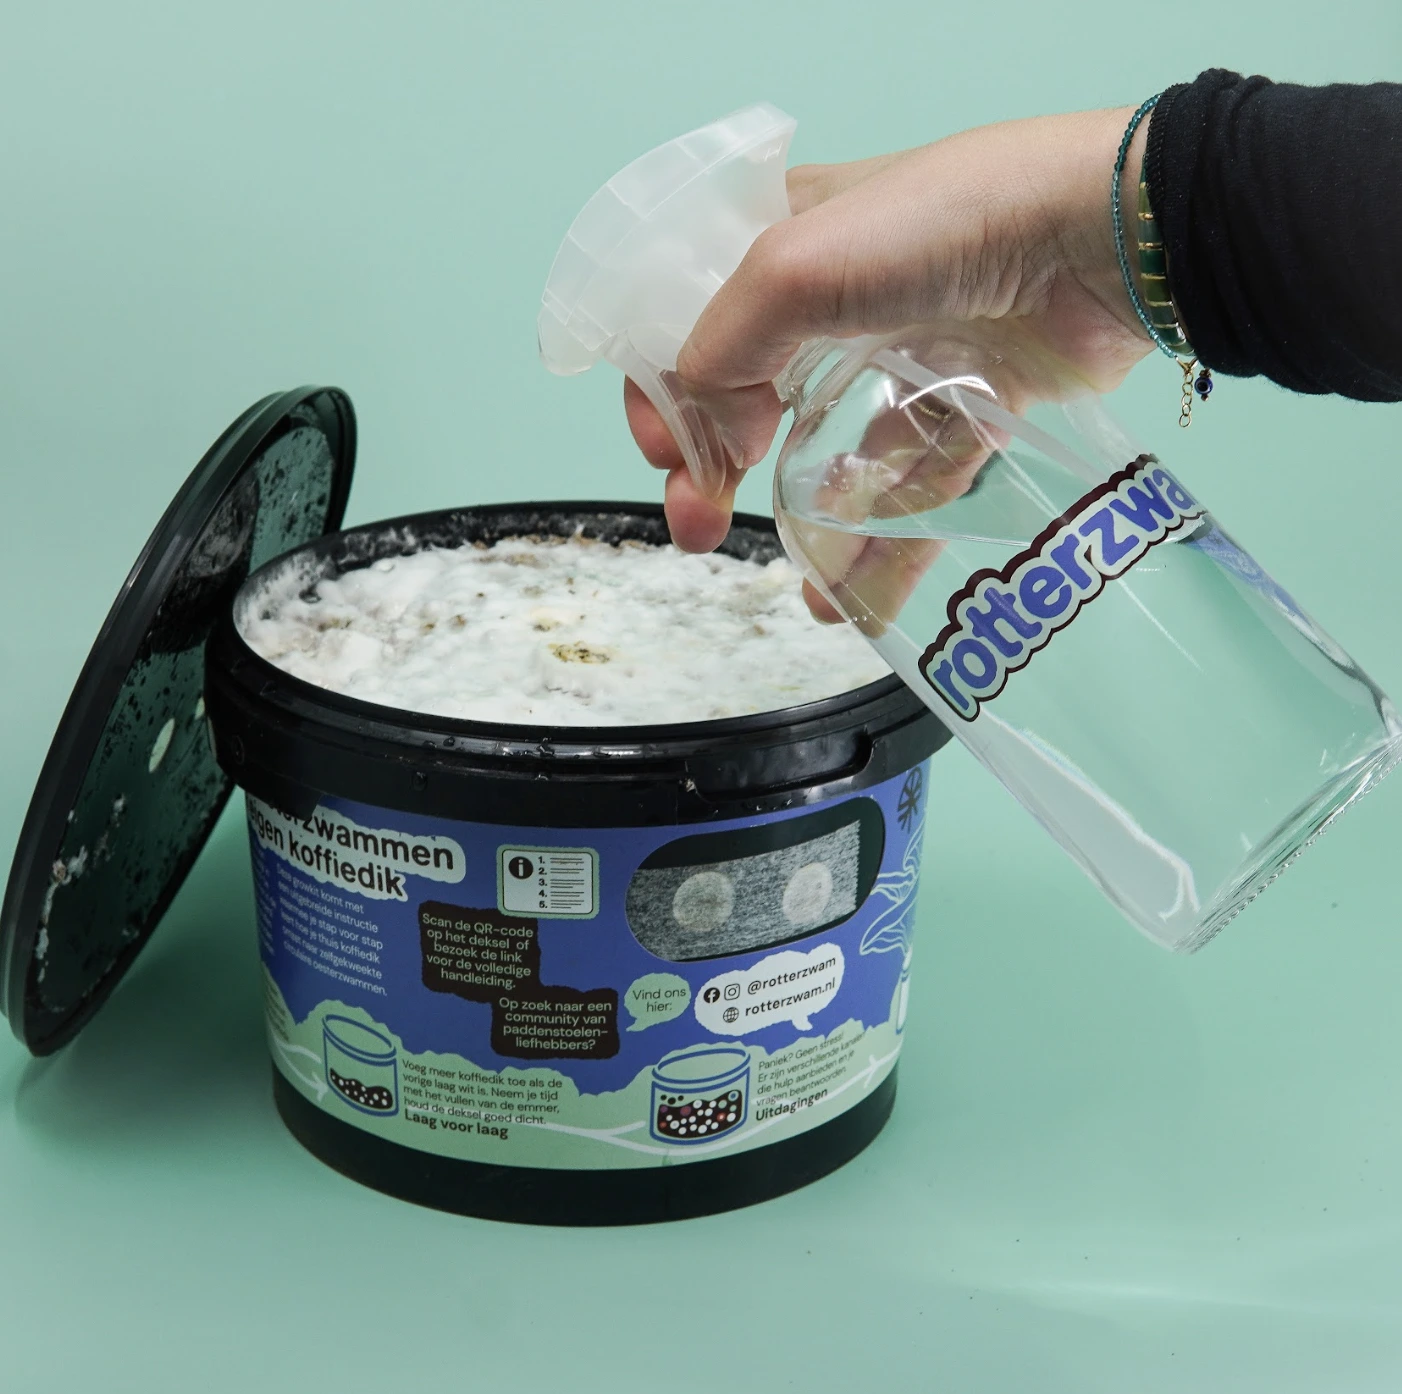
Do not mist directly on your growing mushrooms with a plant spray bottle!

If you spray the mushrooms directly, unwanted bacteria and molds can grow on them. You do not want that on the mushrooms you are going to eat. It is best to keep the environment and the inside of the bucket moist: misting only the mushrooms doesn’t do much.
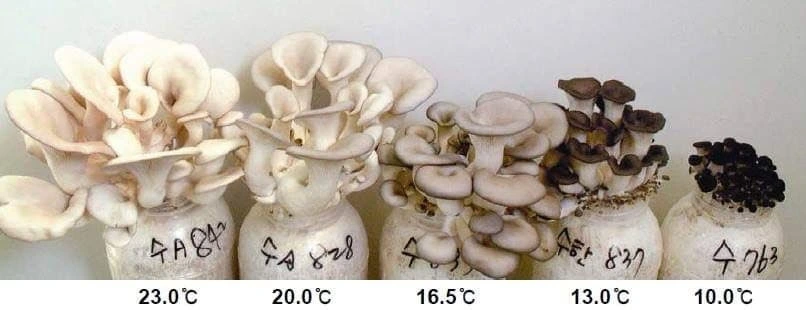
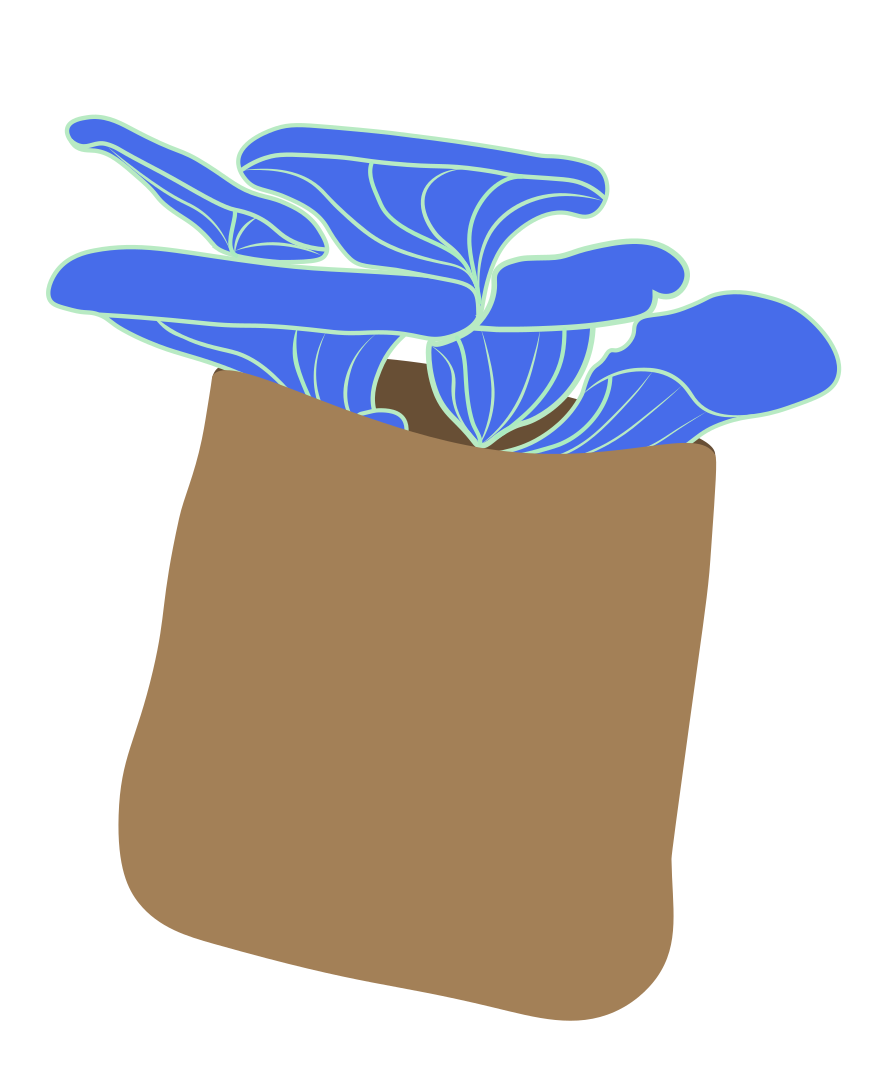
An image of oyster mushrooms growing out of five different bags. They all have different colours depending on the temperature they have been in

Temperature and color variation: the color of your grey oyster mushrooms depends on the growing temperature. Cooler temperatures (12-18°C) produce darker grey caps and slightly slower growth. Warmer temperatures (20-24°C) produce lighter grey or even beige caps and faster growth. Don't worry if your mushrooms look different from one flush to the next. It's the same species responding to seasonal temperature changes. This is especially noticeable for people growing outdoors in spring and autumn.

Harvesting:
Timing is everything

Knowing when to harvest is part science, part instinct. Harvest too early and you'll miss out on size and weight. Harvest too late and your mushrooms will dry out.

Indicator 1: Growth rate

When your mushrooms stop doubling in size daily, they're ready. You can test this with the bounce-back method: gently flick the mushroom cap with your finger.

If it bounces back quickly and feels firm and springy, it's ready to harvest.
If it feels papery and dry, it's past its prime. You can still harvest and eat them

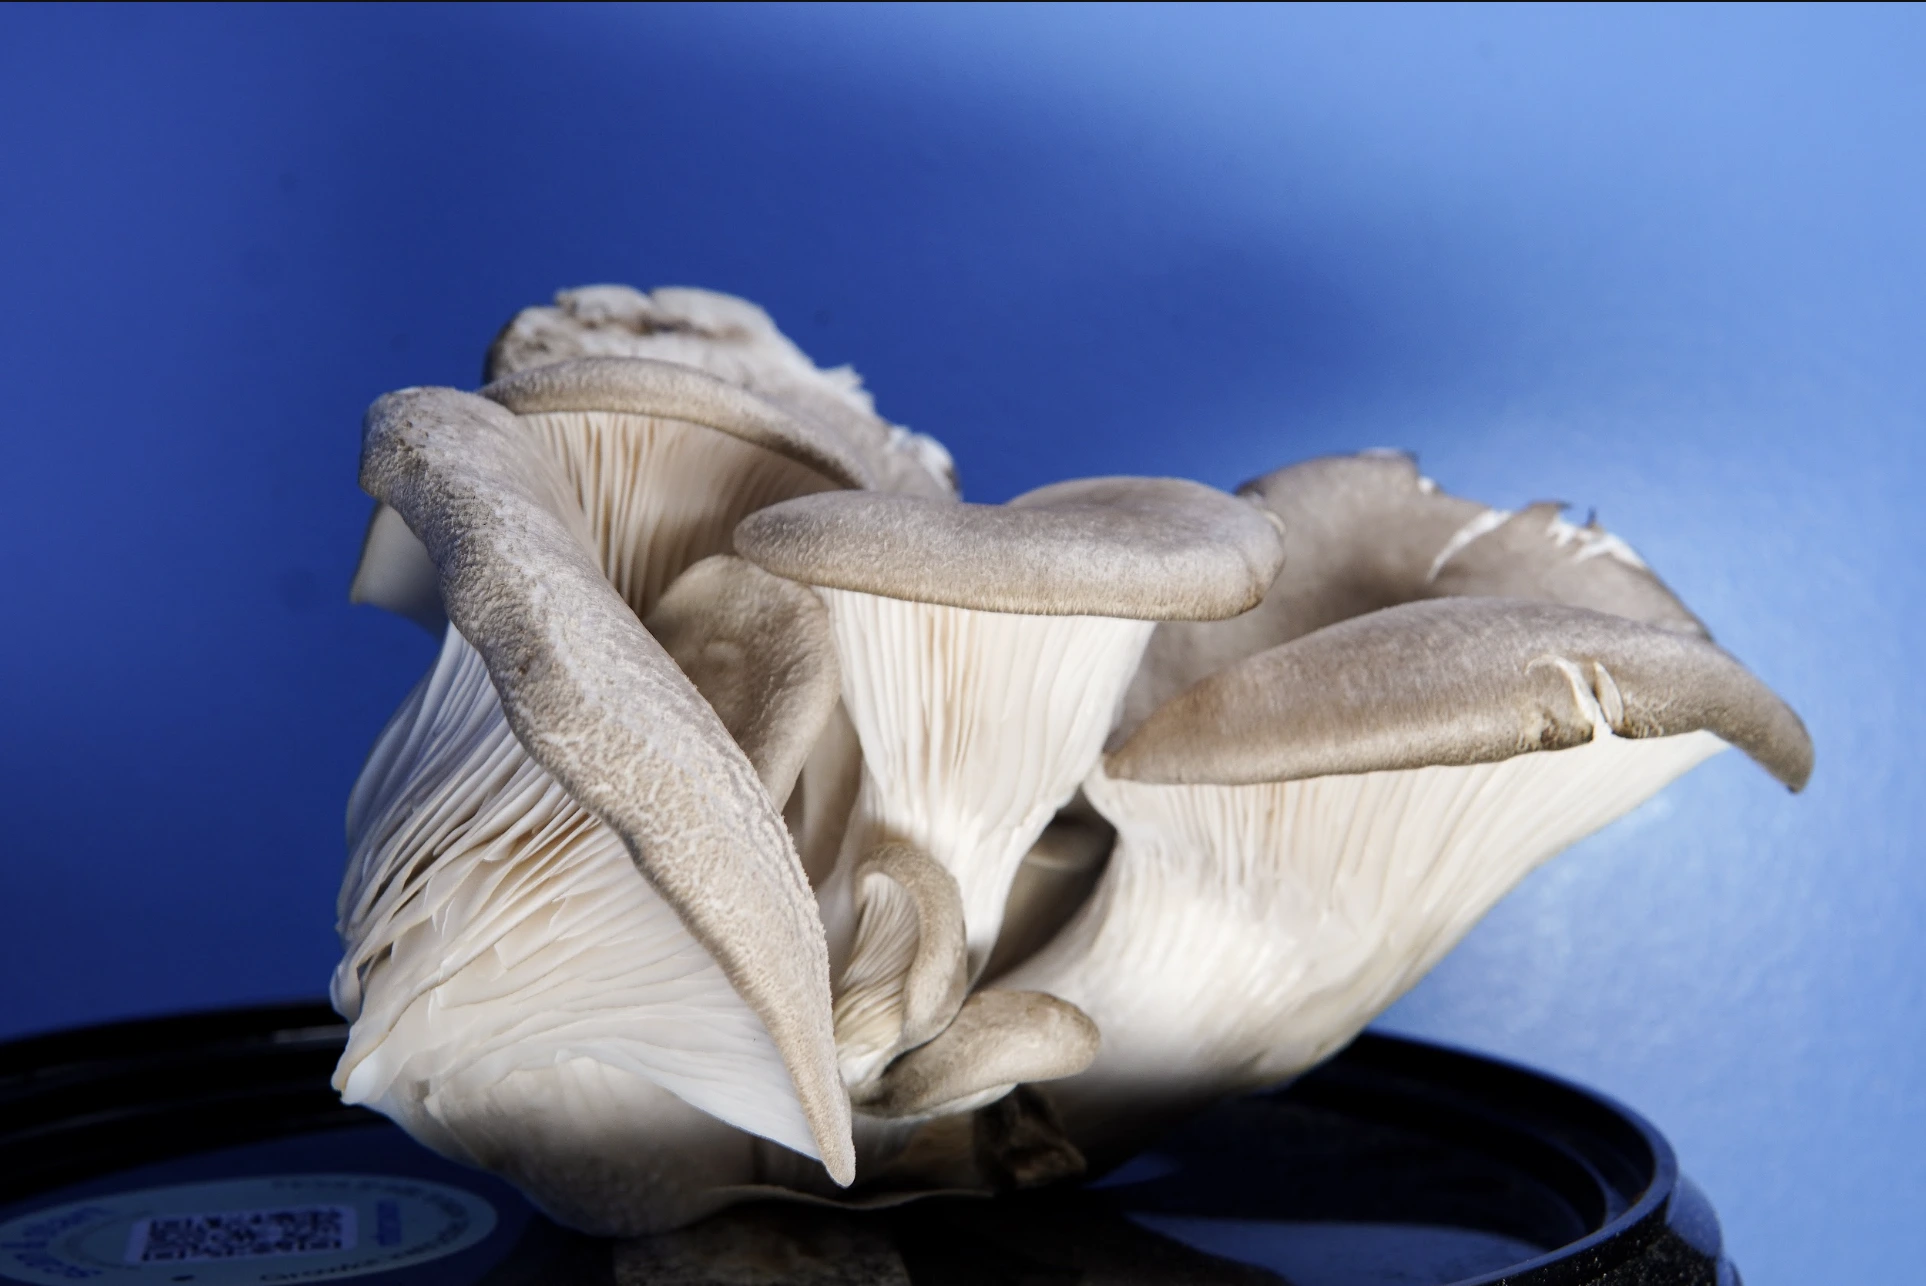
Cluster of oyster mushrooms with grayish caps and white gills against a blue background.
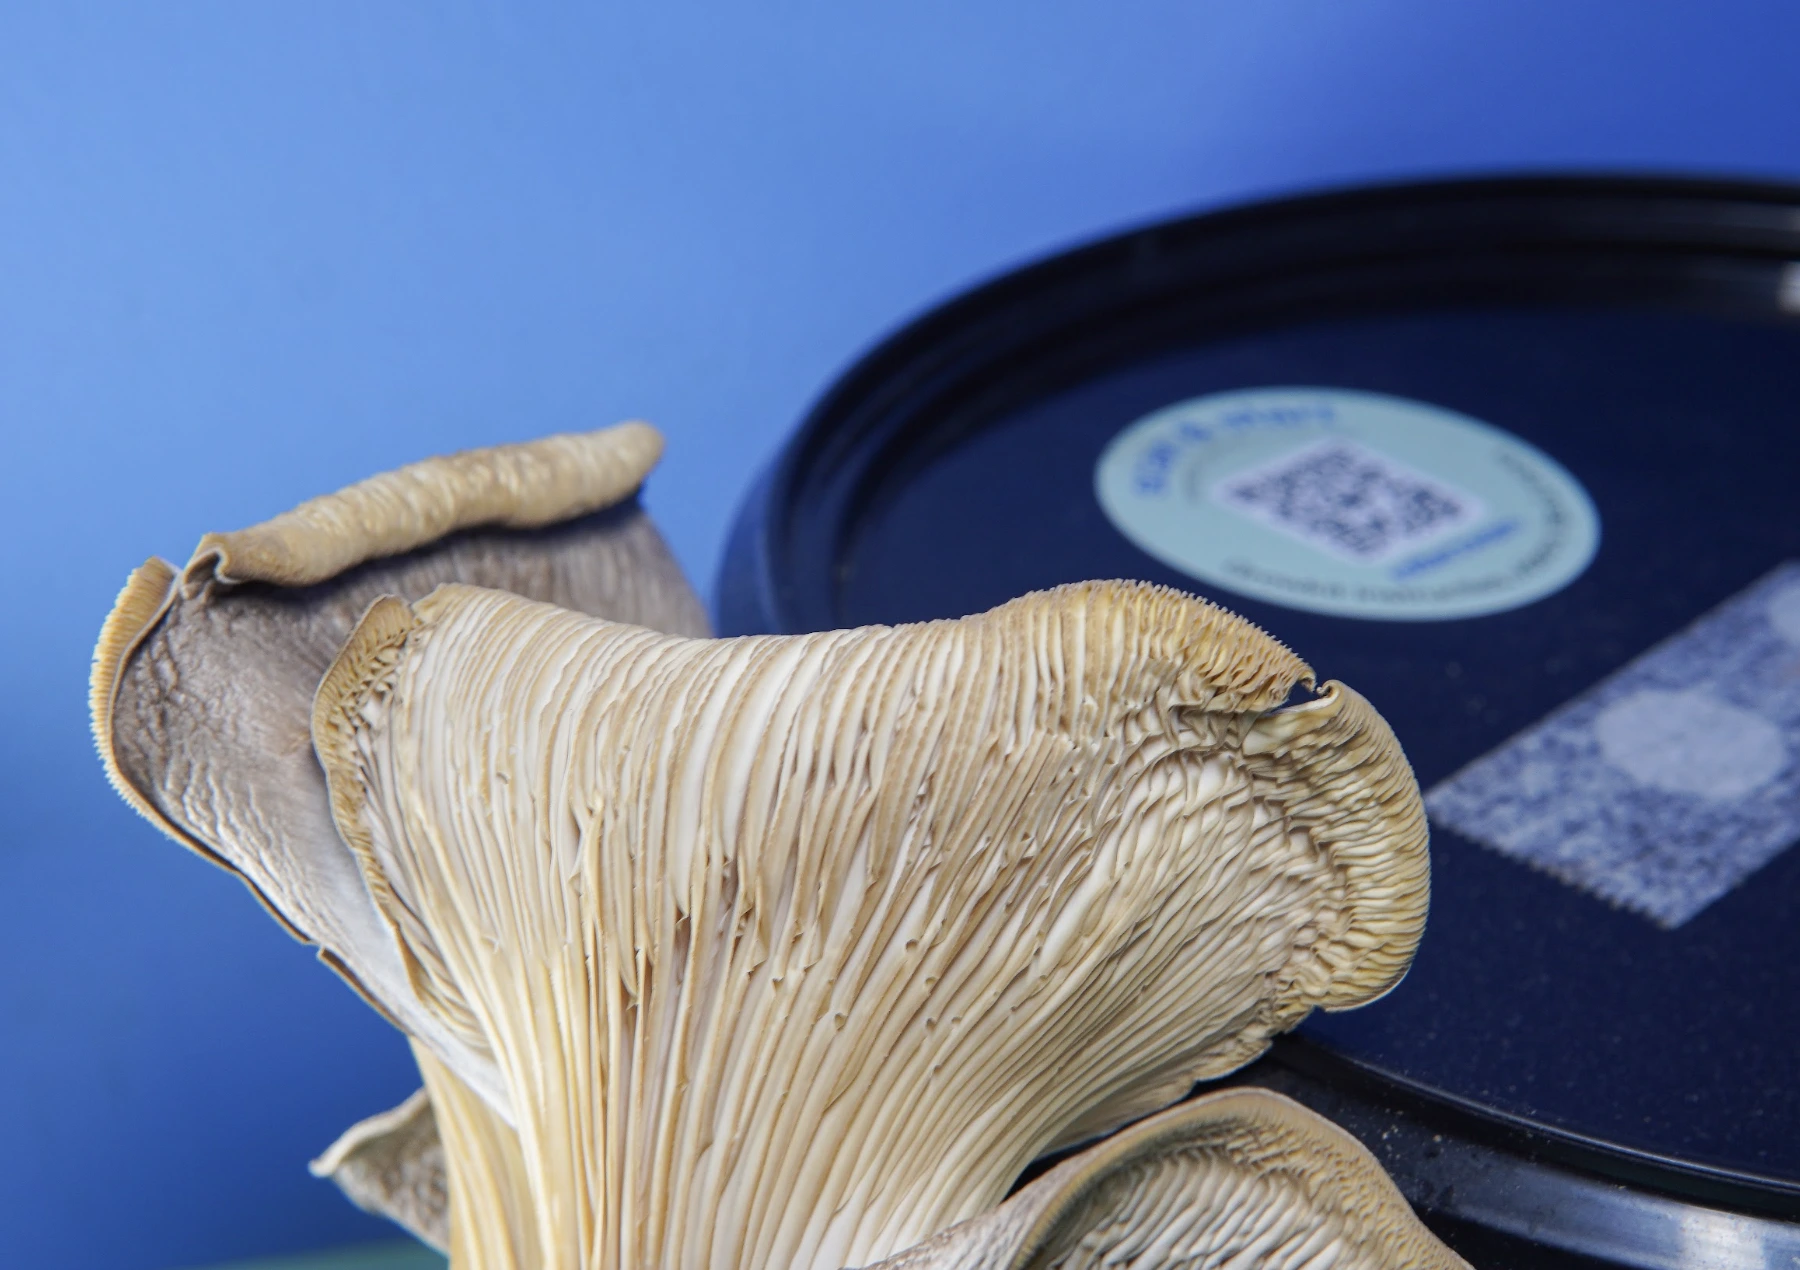
Close-up of gills on a cluster of dried oyster mushrooms against a blue background.

Indicator 2: Cap shape

Watch the edge of the mushroom cap. Young buttons have edges that curl downward. As the mushroom matures, the cap flattens out.

When the cap edge becomes nearly horizontal (parallel to the ground), harvest immediately. Once the edges start curling upward, the mushroom is beginning to dry out and will become tougher.

An illustration, that says actions. You have to do something

How to harvest

Harvesting is simple. Grab the entire cluster at the base with your hand, give it a quarter turn (90 degrees), and it will twist off cleanly.

Don't pull or yank; the twisting motion breaks the connection without damaging the mycelium underneath. You want to harvest the whole cluster at once rather than individual mushrooms.

Mushrooms!

You did it! From coffee grounds to gourmet mushrooms: you've completed the full circle.
Now comes the best part: eating your harvest. Oyster mushrooms aren't just tasty—they're nutritional powerhouses. They're rich in protein (3-4g per 100g), B vitamins, and antioxidants.

They also contain beta-glucans, compounds that support immune function. And unlike many vegetables, mushrooms produce vitamin D when exposed to light: just like human skin!

Storing your fresh oysters

Place harvested mushrooms in the vegetable drawer of your fridge or store them in a paper bag (not plastic!). Oyster mushrooms need air circulation to stay fresh, and sealing them in plastic traps moisture and makes them slimy. Stored properly, fresh oyster mushrooms will keep for 5-7 days in the fridge.

They should feel firm and smell earthy and fresh. If they start to feel wet or develop a sour smell, use them immediately.

What about dried-out mushrooms?

Maybe you went on vacation, didn’t have enough moisture, or just didn't notice them in time.

Don't throw away dried oyster mushrooms! They're actually a culinary treasure. Rehydrate them by soaking in lukewarm water for 10 minutes. Dried oyster mushrooms have a more concentrated, intense flavor than fresh ones: almost umami-rich and meaty.

You can also grind dried mushrooms into powder using a coffee grinder and use it as a natural flavor enhancer in soups, stews, and sauces

An illustration of a paper bag filled with oyster mushrooms

Cooking tips:

Grey oyster mushrooms have a delicate, slightly sweet, and nutty flavor with a tender yet meaty texture. They're incredibly versatile:

Thank you! Your submission has been received!
Oops! Something went wrong while submitting the form.
Plates with fried mushrooms, sausage rolls, breaded croquettes, and clusters of red grapes on a dark surface.

Recipe inspiration:

Check out the rotterzwam website and social media (@rotterzwam) for delicious recipe ideas. From creamy oyster mushroom soup to crispy mushroom tacos, there's something for every taste.

Go to Recipes
Go to Recipes
Primary Btn IconPrimary Btn Icon

Share your success!

We'd love to see your harvest! Post a photo on Instagram or Facebook and tag @rotterzwam with hashtags #rotterzwam and #rotterzwamgrowkit.
Join our growing community of urban mushroom farmers and inspire others to turn their coffee waste into food.

Hand spraying water from a clear bottle labeled rotterzwam onto a growkit.
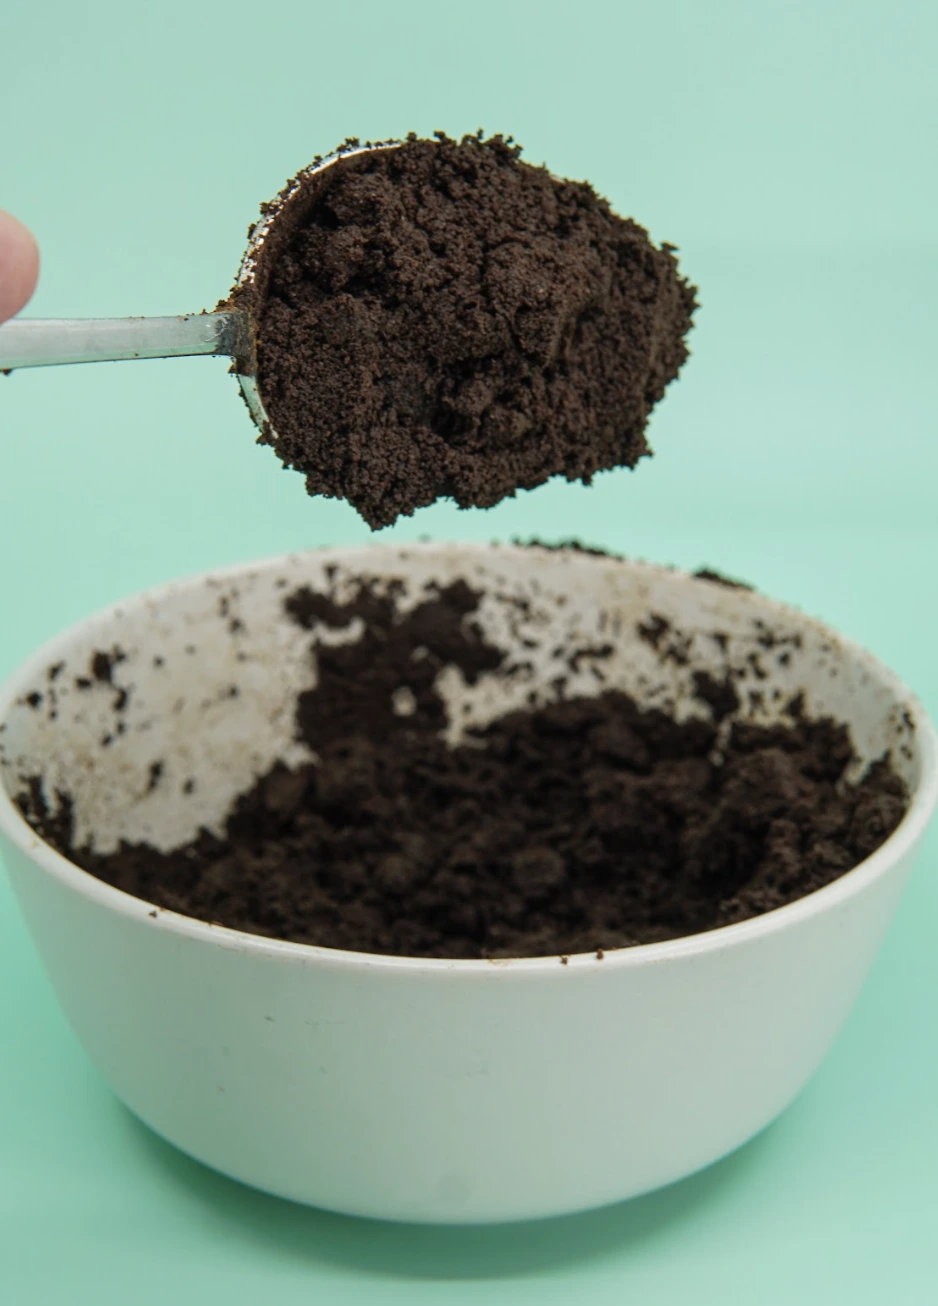
A spoonful of dark coffee grounds held above a white bowl filled with more coffee grounds.
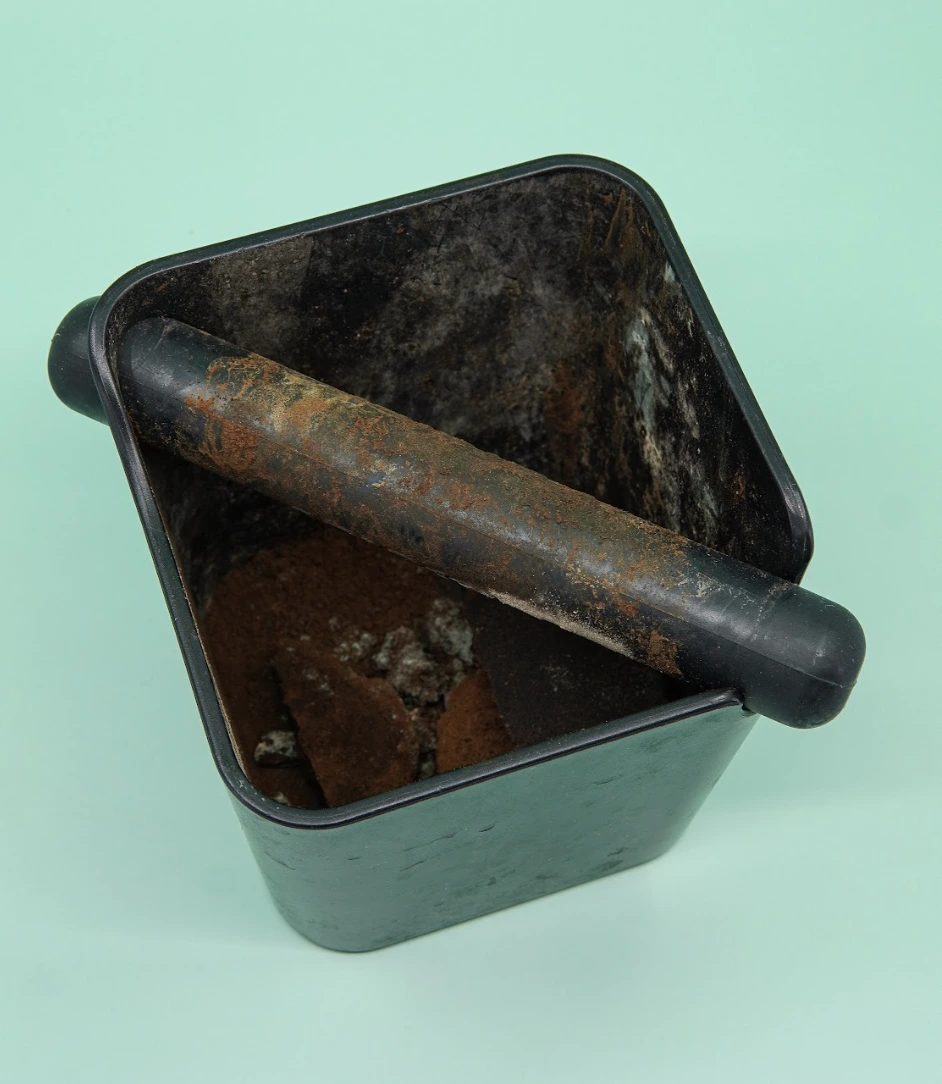
Black square container with a rusty pestle and moldy brown substance inside.
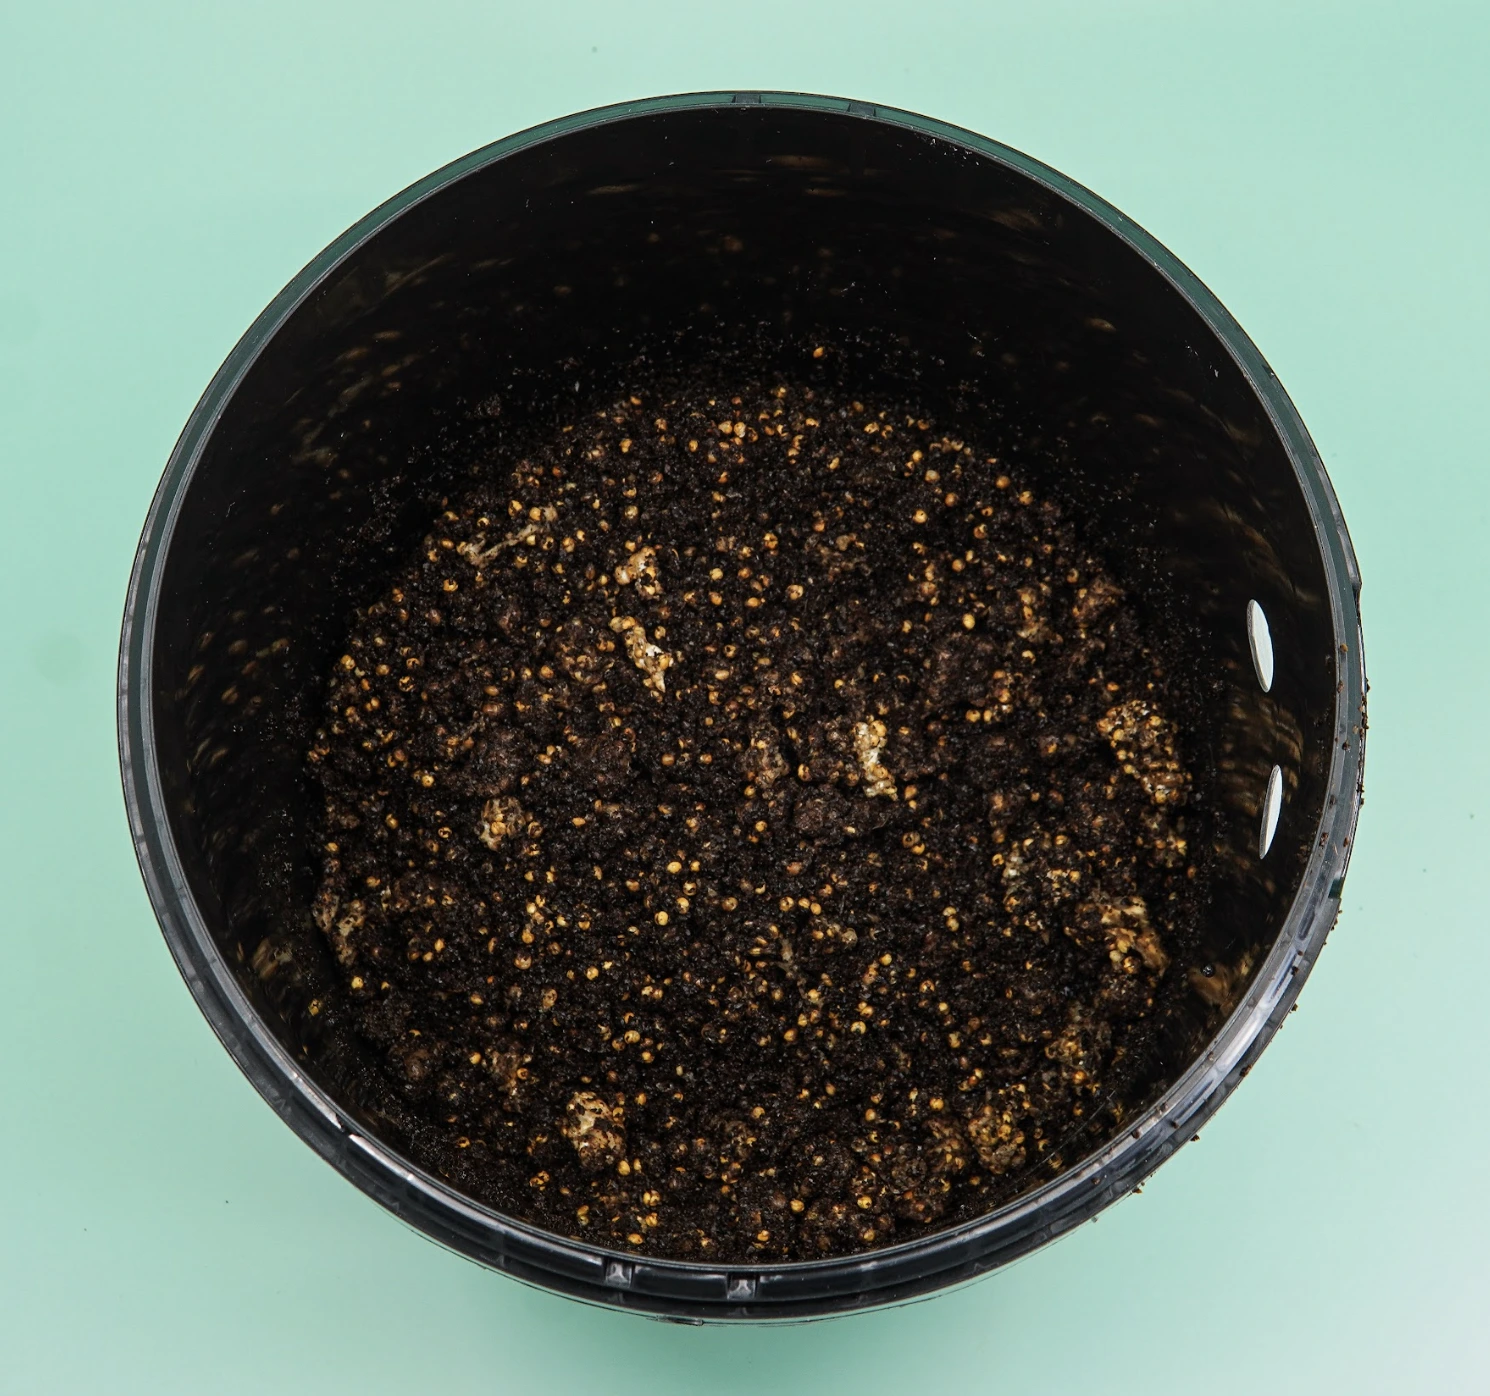
Top view of a growkit with dark soil mixed with small beige granules on a teal surface.