Growkit stored correctly!
You've earned a badge! Now you know how to make the first layer and store your growkit. Nice work!

Starting
This is how you start up your growkit
Before you begin, clean the bucket with boiling water.
No soap or chemicals, heat does the job. It removes unwanted microbes and gives your mycelium a clean start.
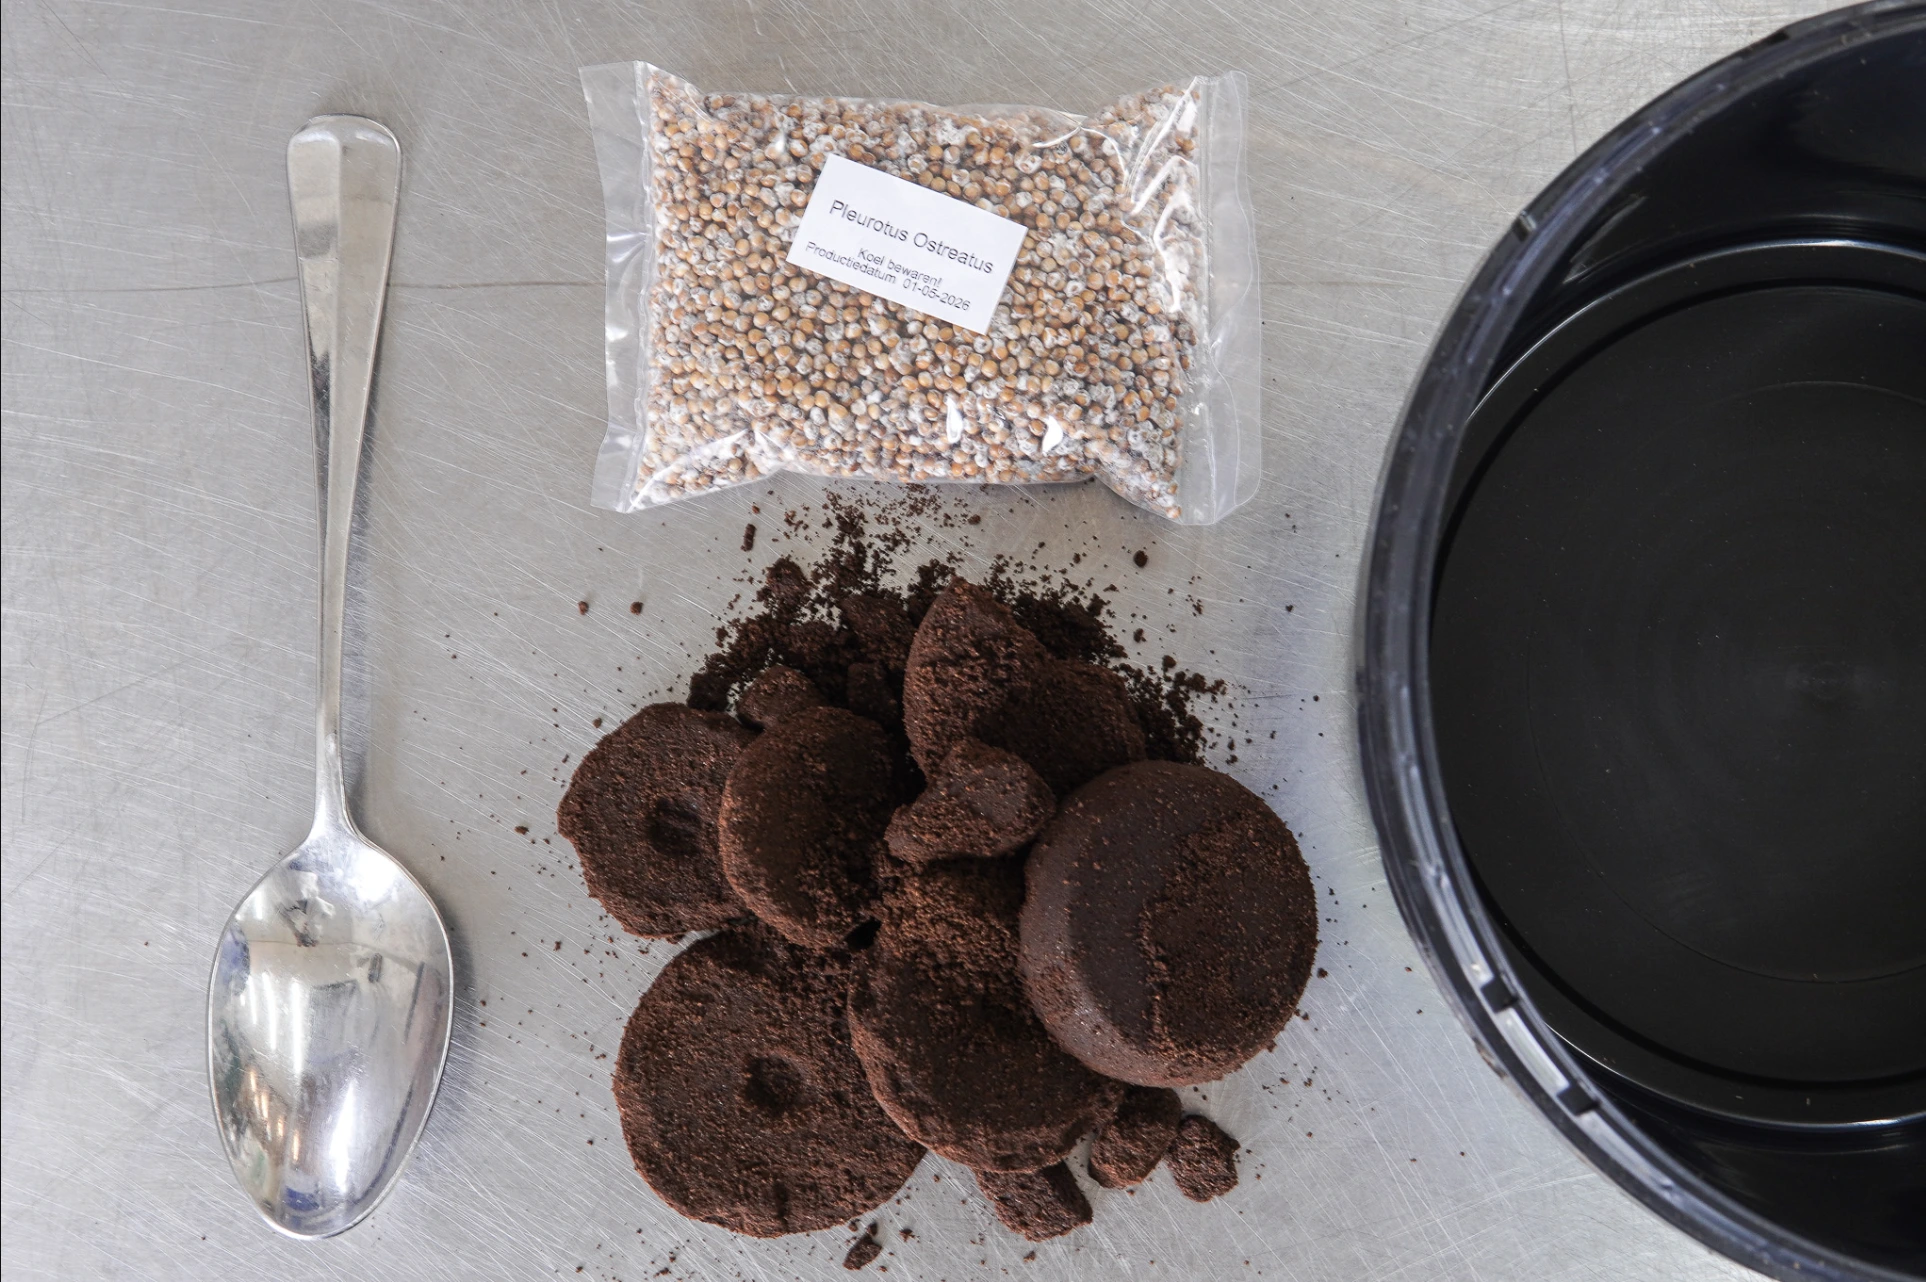
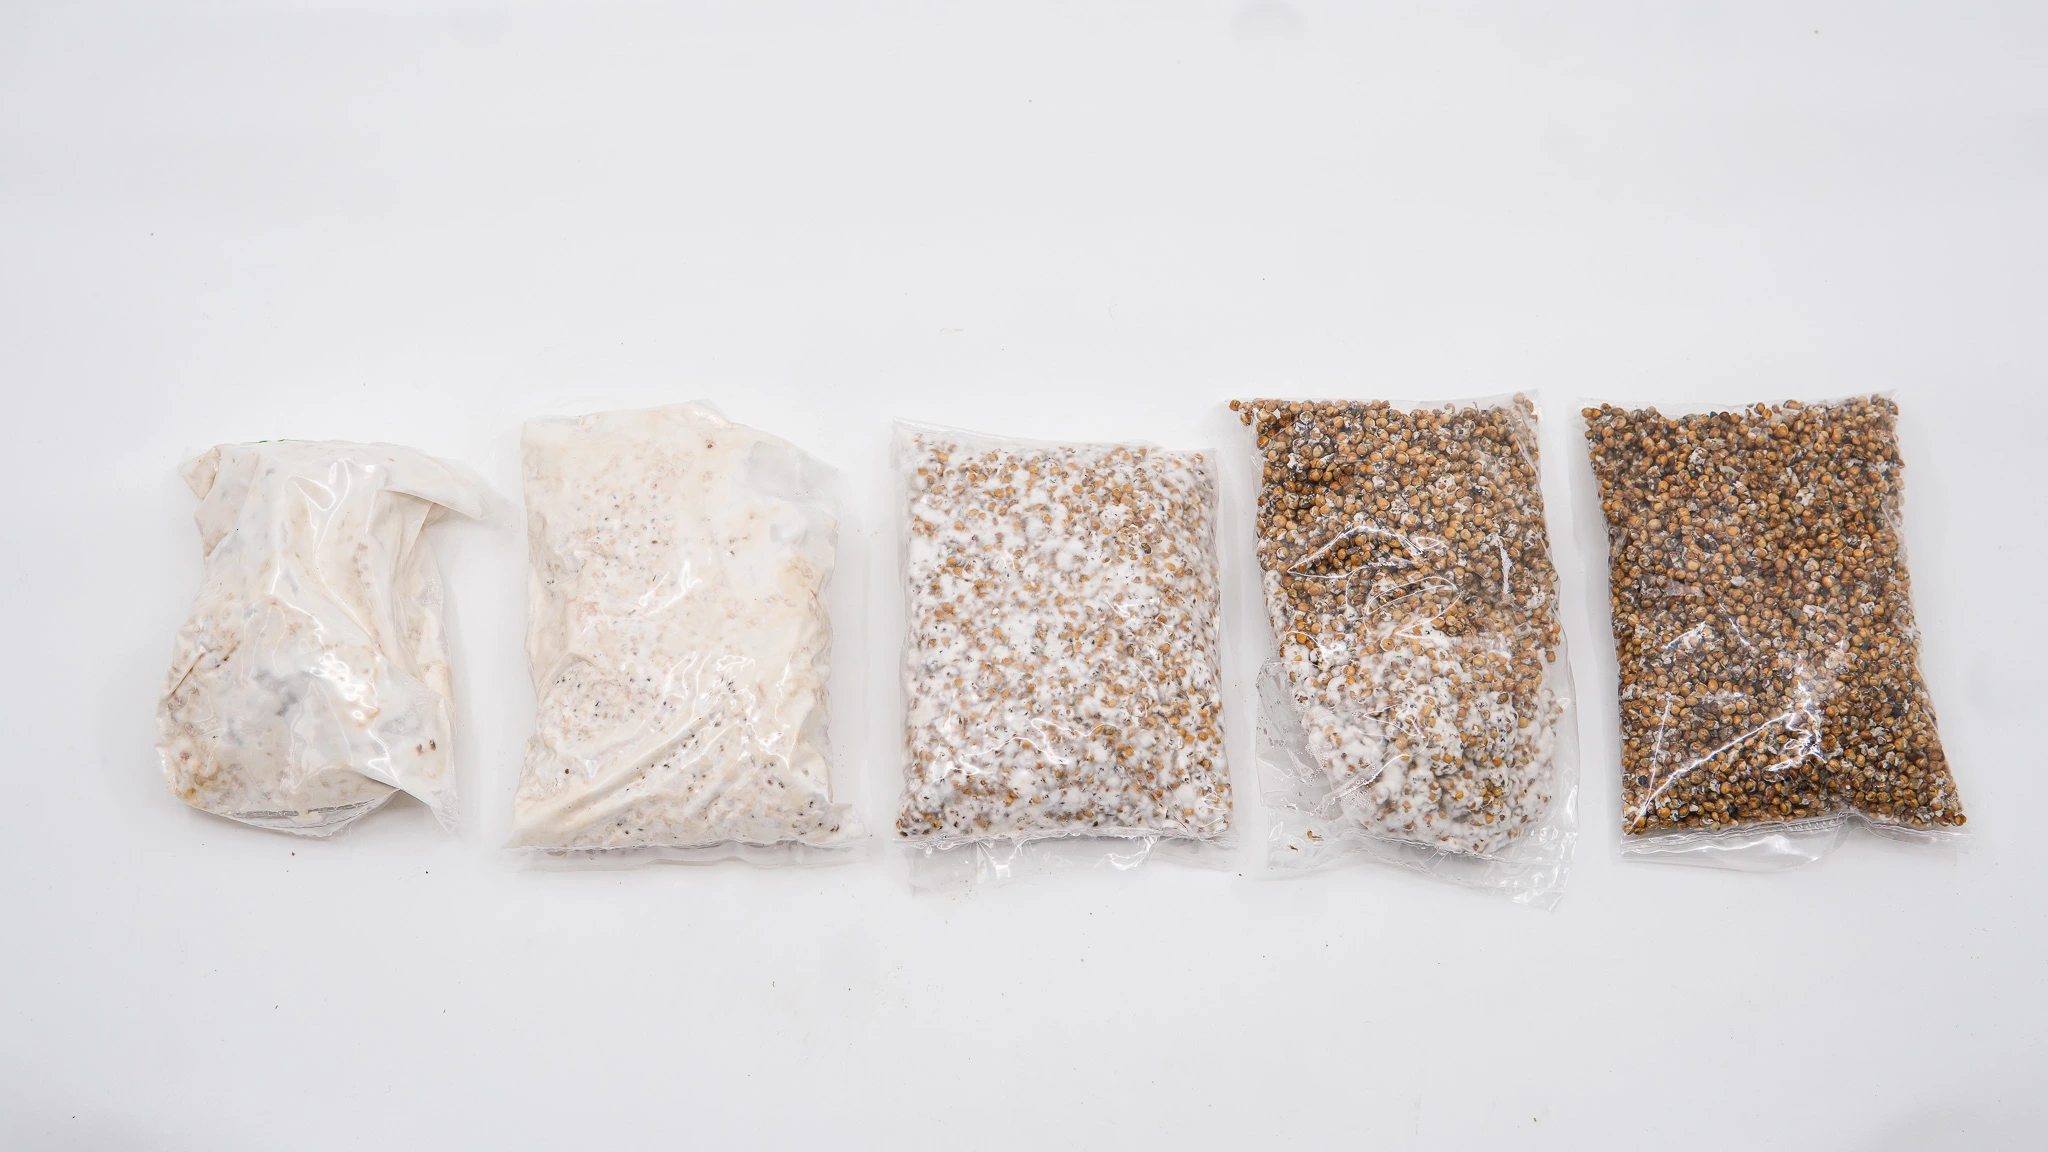
Next, get all the supplies for starting: a spoon for stirring, the spawn bag, and about 100 g of moist, cooled-down fresh coffee grounds.
Scroll down to find out how to start the process ↓


What's included in the rotterzwam Growkit?


What you need to add yourself


Moisture matters
It doesn’t matter what type of coffee machine you use: what matters most is how moist your fresh coffee grounds are.
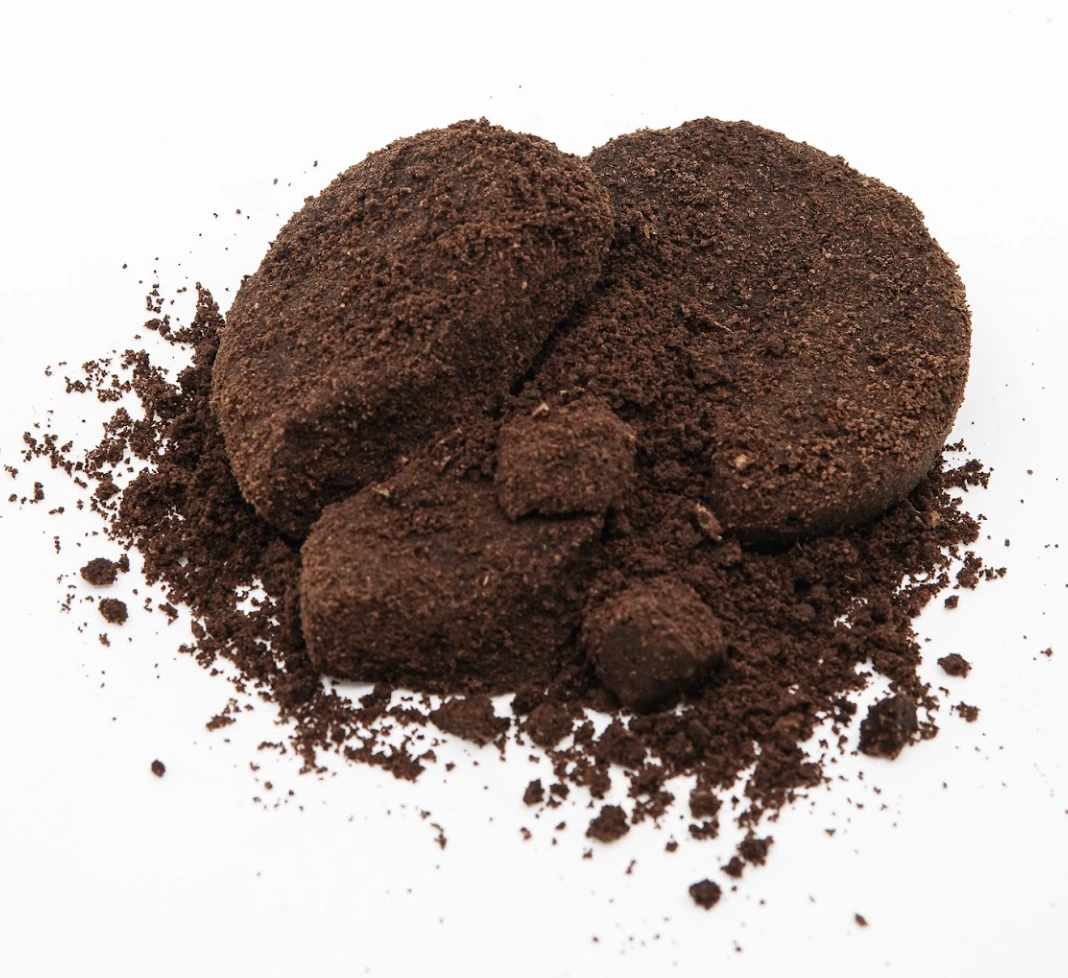
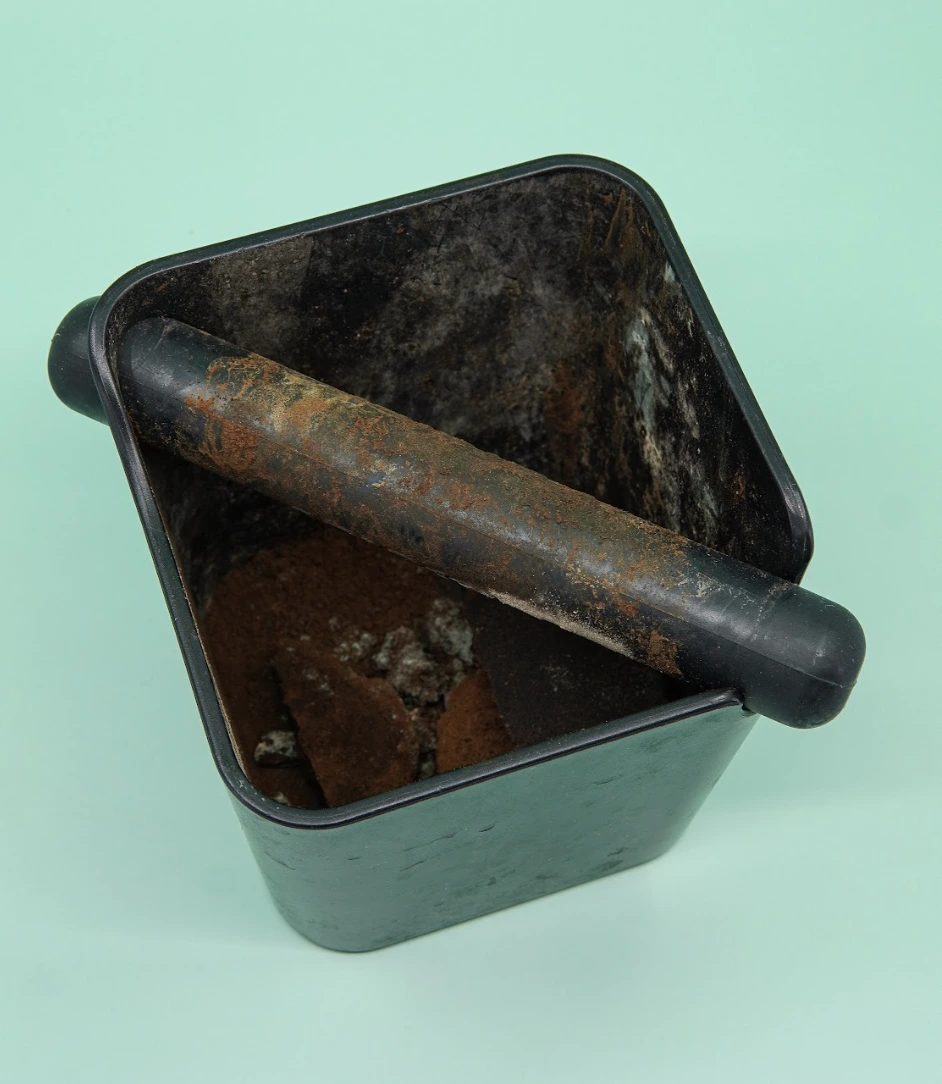
Coffee grounds from the espresso machine and percolator usually are too dry, recognized by the light brown colour and granular structure. These coffee grounds are in need of some extra water.
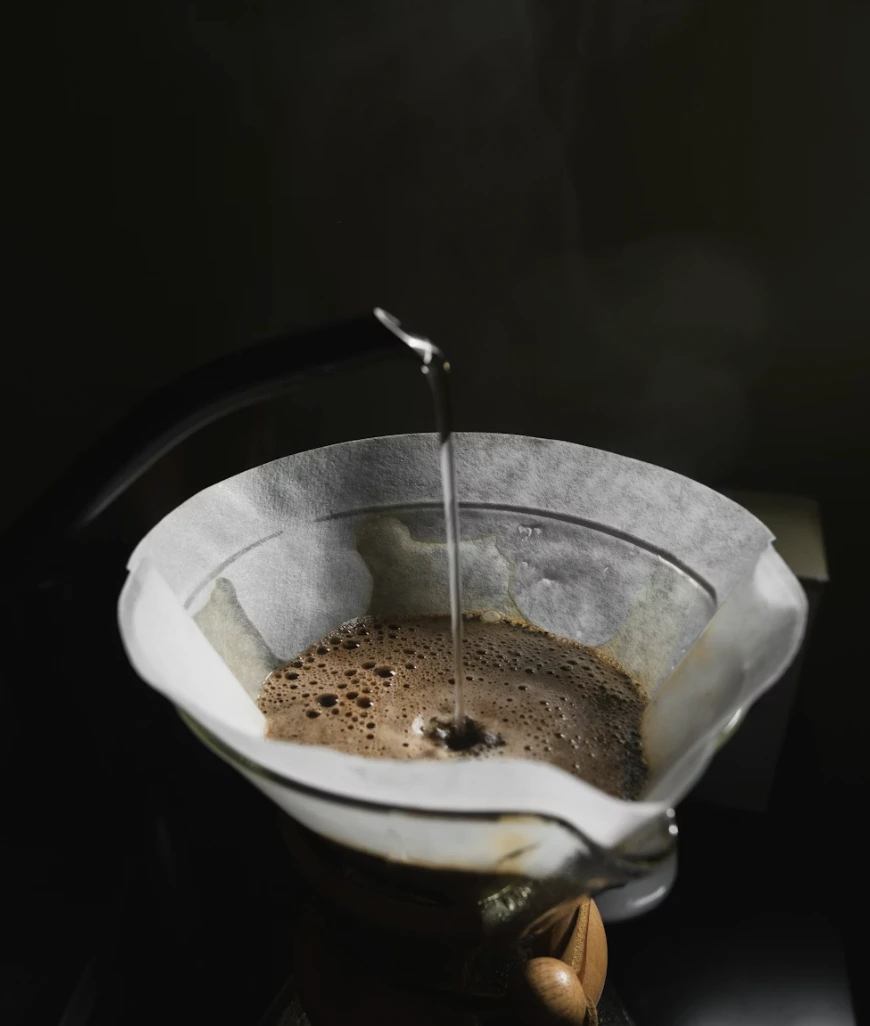
Coffee from the filtration machine is the perfect humidity, you can even add the paper filter.
How to get the right moisture level
Oyster mushrooms prefer a moist substrate, but excess water blocks oxygen and slows growth. So it is key to find the right balance here.
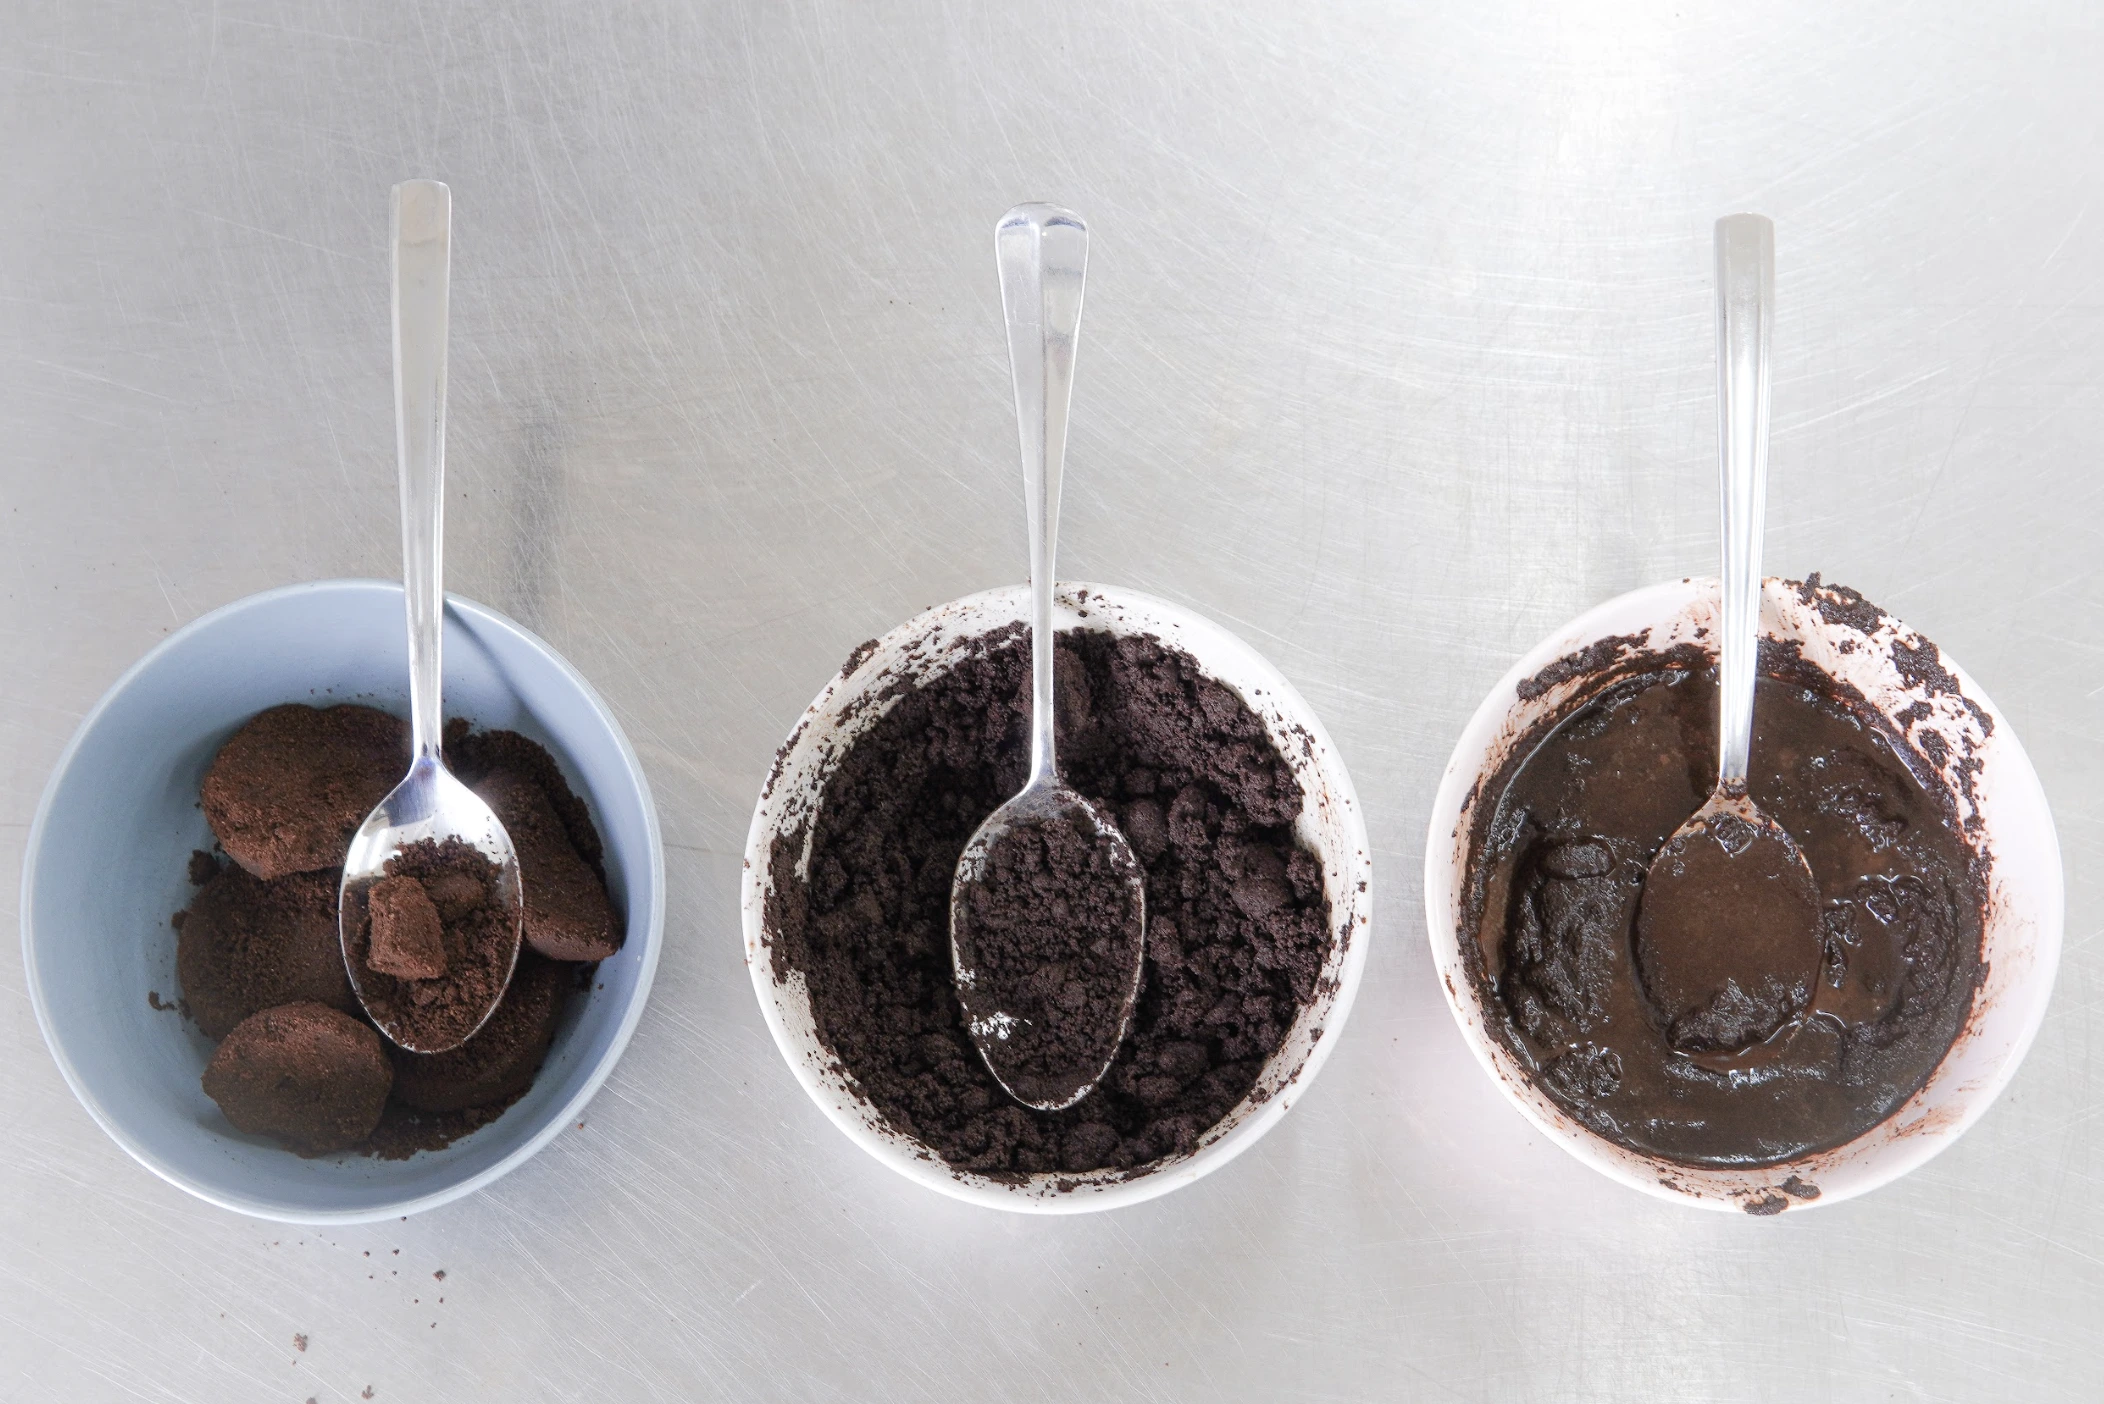
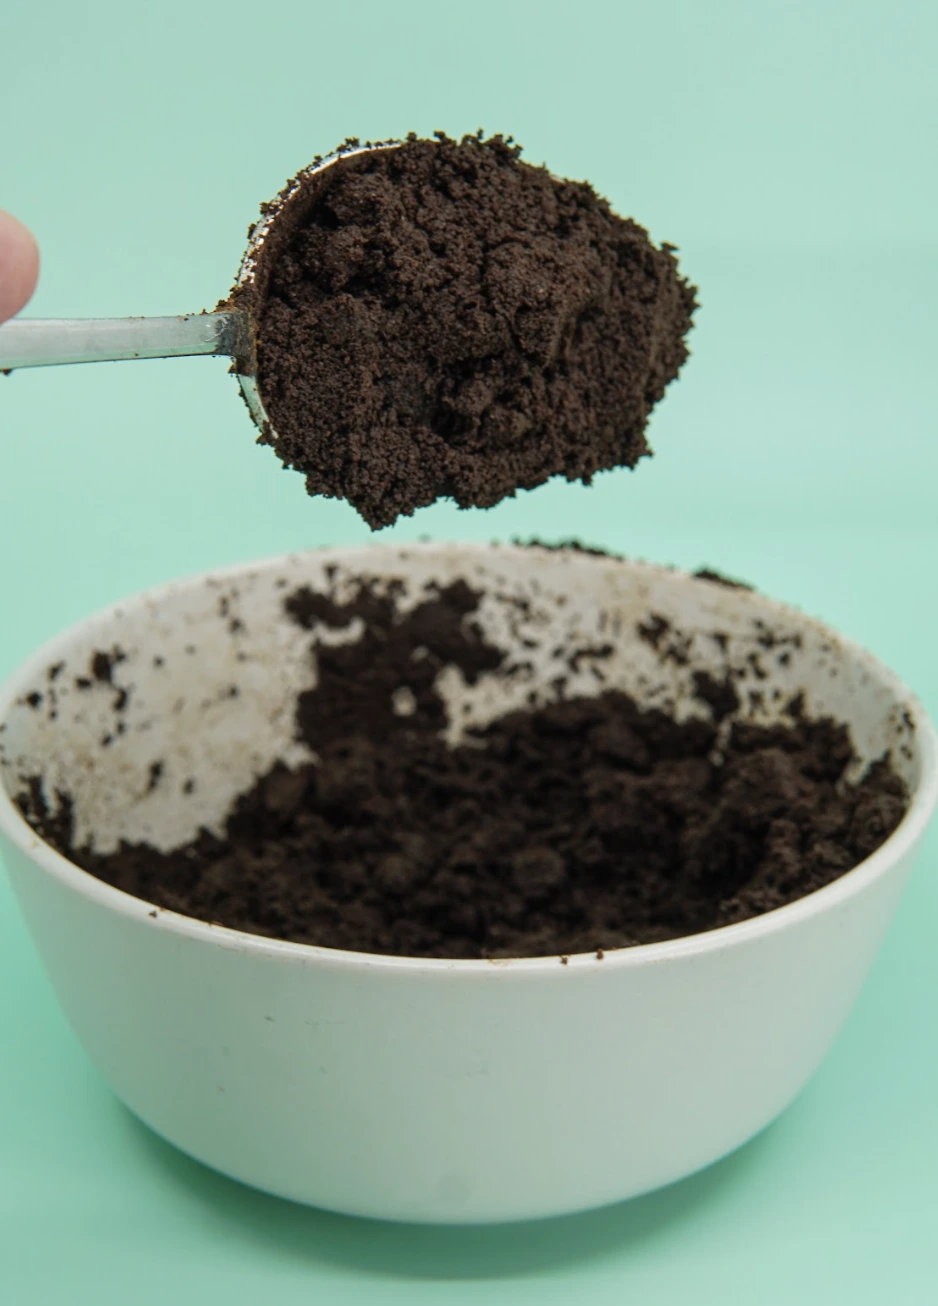
You can test if it has the right amount of water by packing some coffee on the spoon, and turning it to 90 degrees. When the coffee falls off and leaves no grounds on the spoon, it is too dry. If the coffee immediately falls off and leaves a wet residue on the spoon, it is too wet.
For the perfect amount of water, the coffee grounds should stick to the spoon when turned to 90 degrees, and fall off when turned completely upside down. You should see some coffee crumbs left on the spoon when it fell off.
Another, less clean way of testing the moisture is by squeezing a handful of the coffee grounds: 1-2 drops of water should come out. More than that = too wet. None = too dry.
Time to mix the spawn
Now you have created the perfect substrate for your mushrooms to grow on, it is time to wake up the spawn bag!
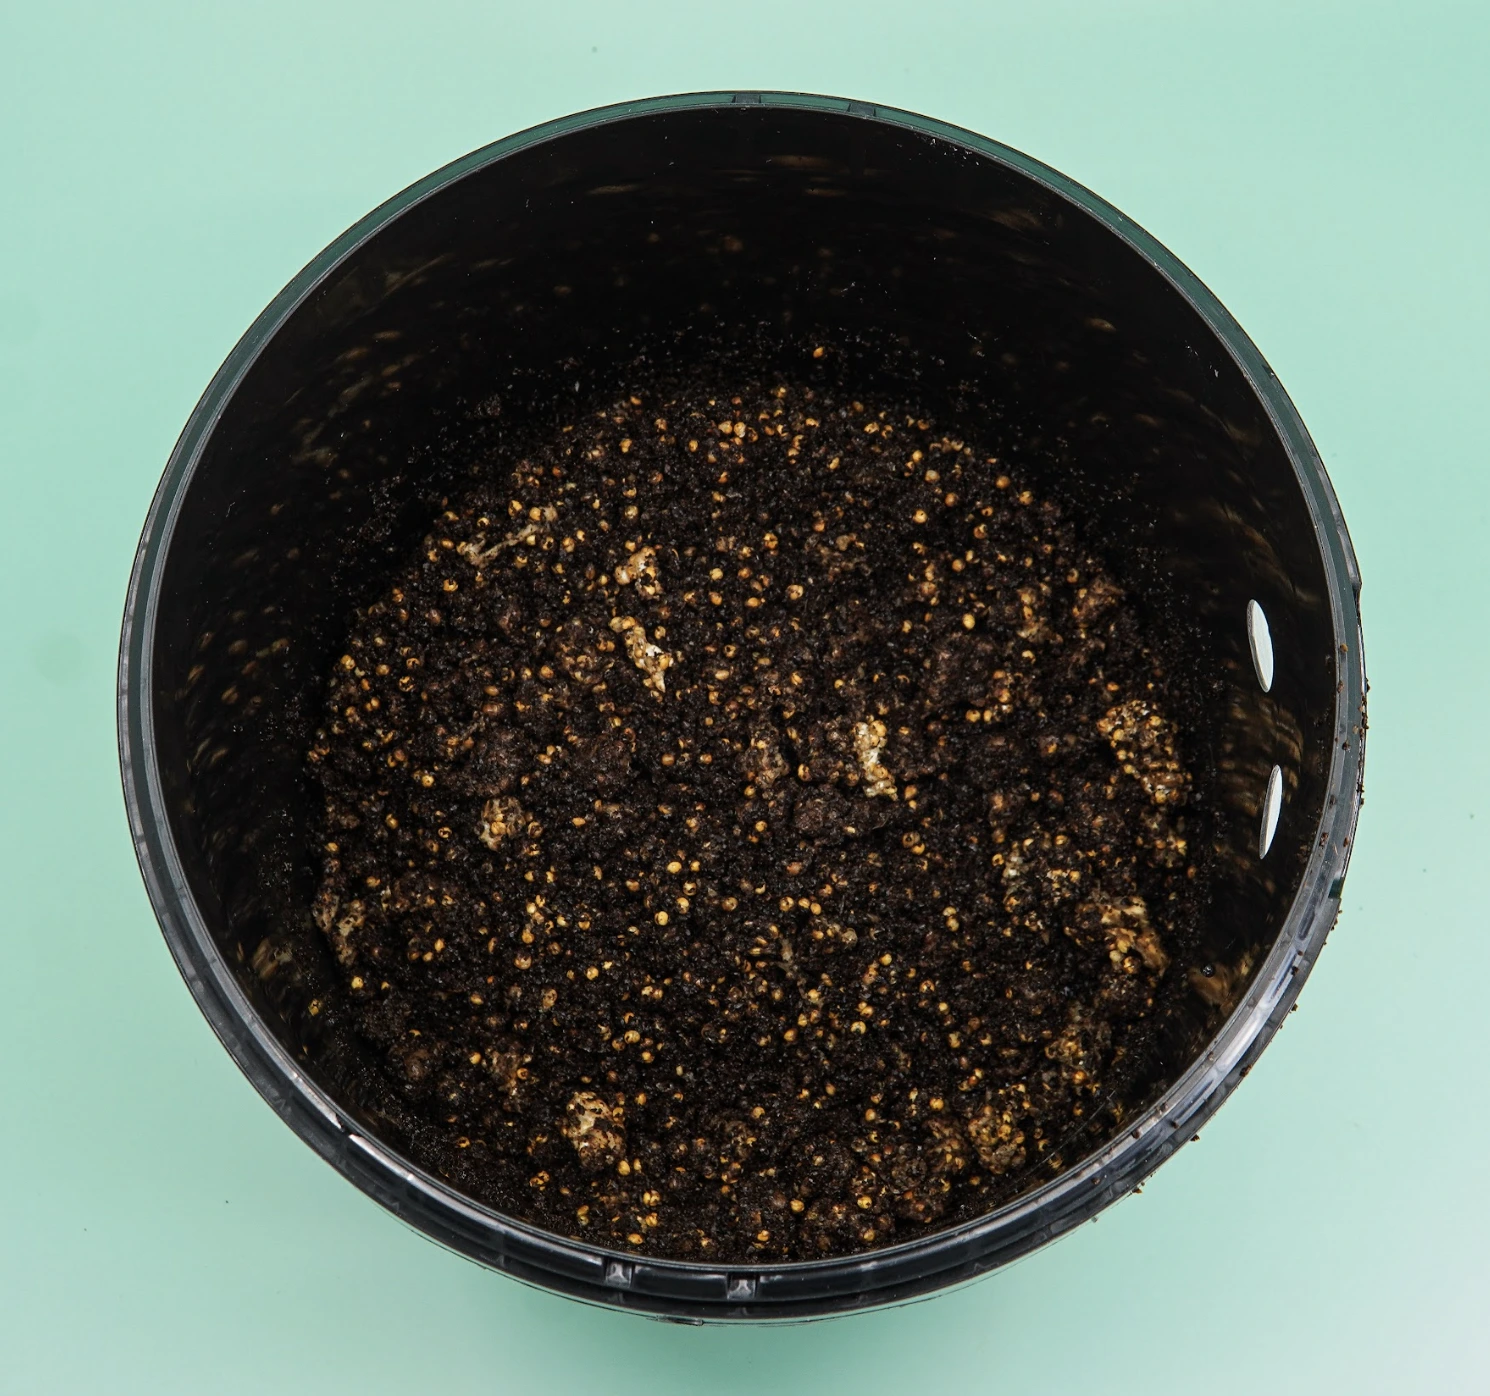
Open it up and mix the entire bag with your coffee grounds. If your spawn is sticking together, break it up so that there’s only small lumps.
Good job! That's your first layer made. Time for the next step!
Where to put the growkit
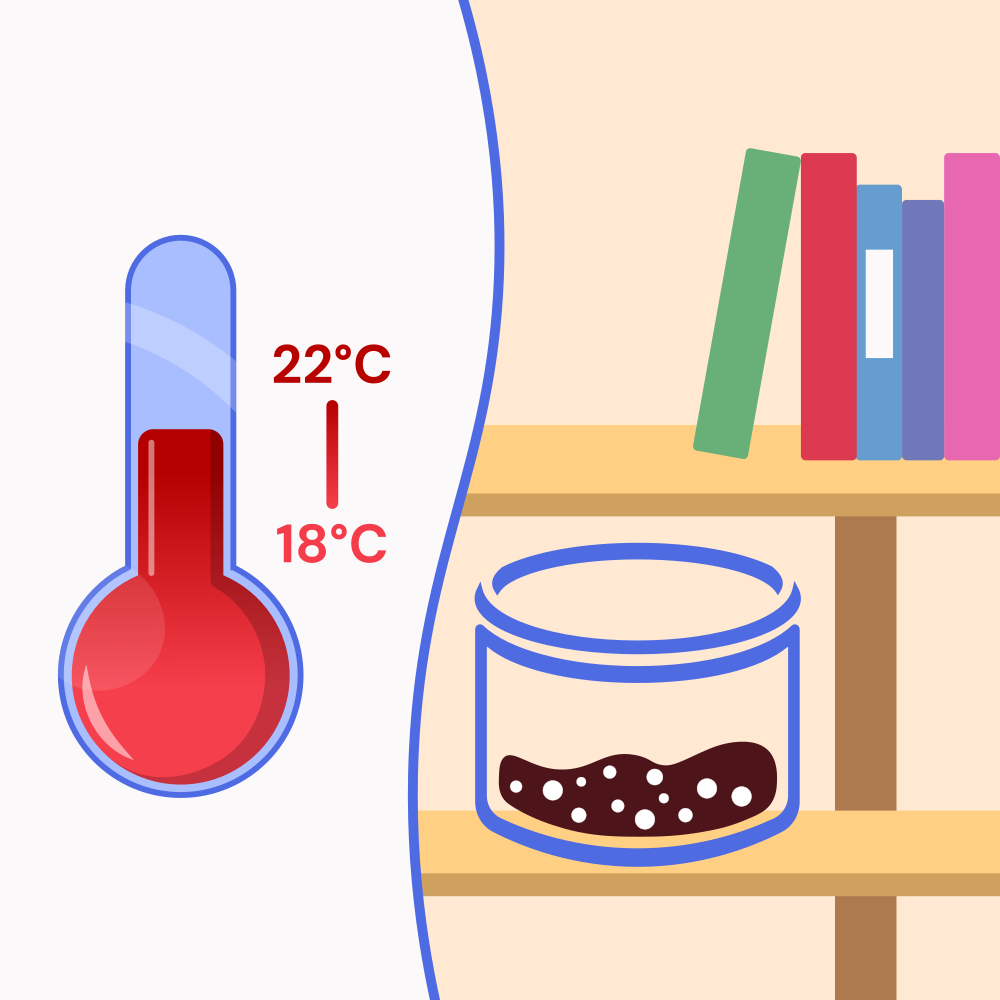
Maintain Stable Conditions
Make sure the lid is properly closed before you put it away, and leave it on at all times.
Of course you can take a peak every now and then. You do not need a high-tech growing unit with installed climate control in order to grow oyster mushrooms.
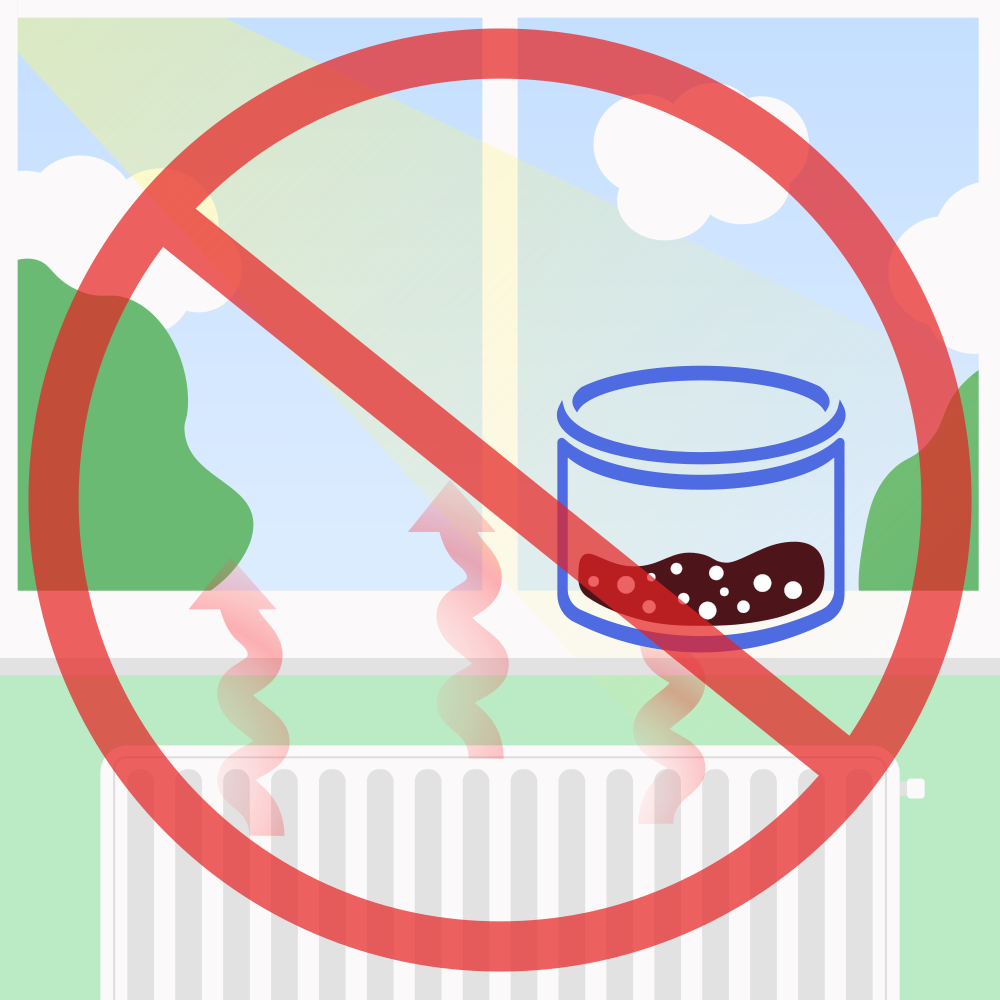
It´s not a regular houseplant
As mentioned before, moisture is the most important success factor. Dry air lowers the humidity inside the bucket. That slows mycelium growth and increases stress. Stable, mild conditions work best.
So do not let the growkit get too warm, keep it out of direct sunlight and do not place it on, above, or next to a radiator.
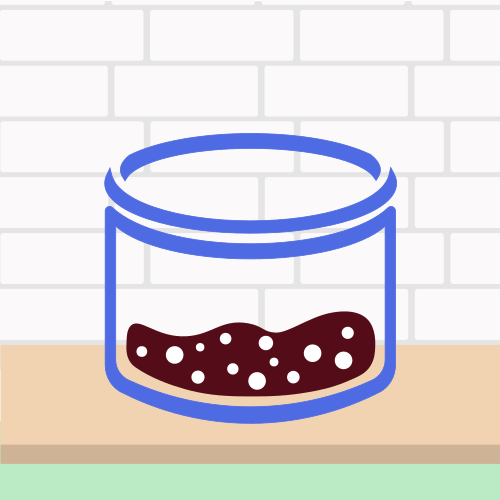
Choose a moist environment
A dark, slightly moist space works best for this first growing stage and early growth.
Good options are the counter in the kitchen, a basement, bathroom or a cupboard. Light is not needed yet: it is dark inside the bucket.
Right now, the mycelium focuses on spreading through the coffee grounds.